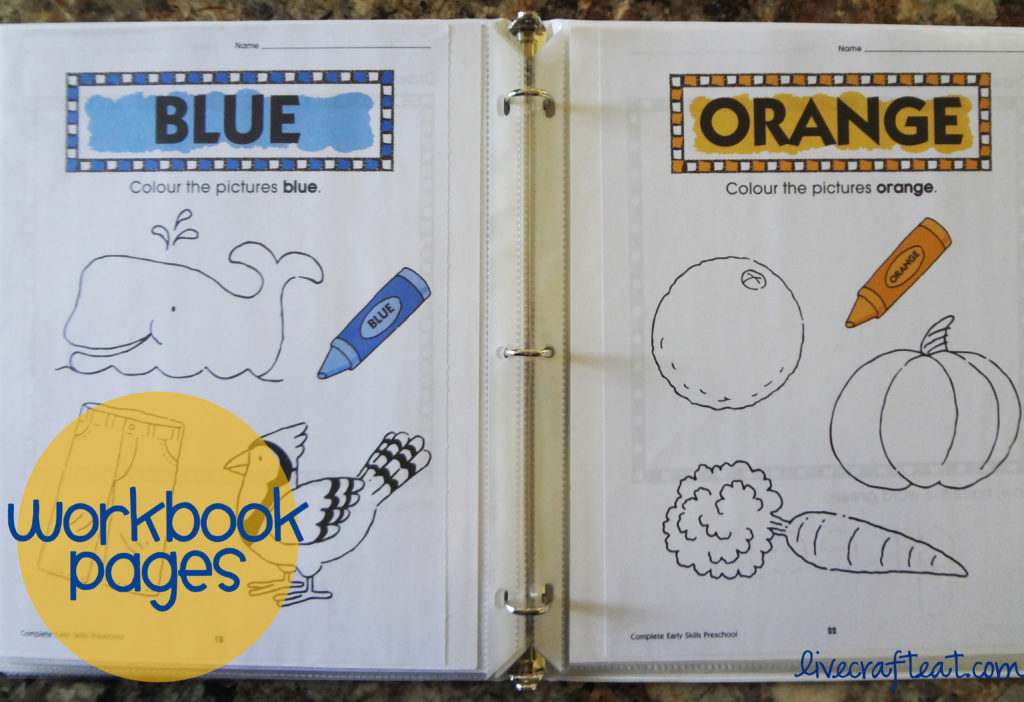

The books were missing the dry erase crayons but at 75% off, it was still dirt cheap. And guess what, the crayon packs were also on sale! They normally run around $3-5 a box. The pages are interchangeable and you can even print off your own pages to add to it.
Is that still too expensive for your taste? Don't worry, I've got your back. Try this easy craft idea for re-usable coloring pages. Pair with any dry-erase marker/crayon and let the coloring fun begin!
What you'll need:
-Skinny 3-ring binder
-Package of clear sheet protectors (make sure they are the really clear ones!)
-A few un-used coloring pages OR activities OR workbook pages of your choice (for optimal coloring make sure the paper fits perfectly into the sheet protectors so it doesn't slide around. If you are cutting from a magazine, glue it to a regular sheet of card stock or computer paper)
-Box of Dry Erase Crayons
Start by loading the page protectors with pages from coloring books or workbook you chose. You could also use a blank piece of paper to serve as a blank canvas!
Next, load the pages into the 3 ring binder and add a plastic bag to the front of the book so the crayons/markers can be easily stored.

The box of Crayola dry-erase crayons comes with a little mitt that erases the coloring perfectly, but you could also throw in a soft piece of cloth to make a home-made eraser. Half the fun is just erasing!
Now, have fun with it! Decorate the front with stickers and put your child's name on it to make it individual.

Here is a quick example of what the inside should look like when put together:

No comments:
Post a Comment